Looking to Download Yosemite Dmg? OS X Yosemite (version 10.10) marked a significant departure from its predecessors, introducing a sleek new design language and tighter integration with iOS devices. Whether you’re a nostalgic Mac user or need a specific Yosemite application, getting a reliable Yosemite DMG file is crucial. This guide will walk you through the process, providing tips, considerations, and resources for a smooth experience.
Why Yosemite Remains Relevant
Despite being an older macOS, Yosemite retains its appeal for several reasons:
- Hardware Compatibility: Yosemite supports a wide range of Macs released between 2009 and 2017, making it a viable option for older devices that don’t meet the requirements of newer macOS versions.
- Application Support: Some legacy software might not run smoothly (or at all) on the latest macOS. Yosemite provides a stable environment for such applications.
- Familiar Interface: If you’re accustomed to the pre-macOS Big Sur design, Yosemite’s interface will feel instantly familiar.
 Mac Compatibility for Yosemite
Before You Begin Your Yosemite DMG Download
While acquiring a Yosemite DMG is relatively straightforward, a few preparatory steps are essential:
- Check Your Mac’s Compatibility: As mentioned earlier, Yosemite isn’t compatible with all Macs. To avoid potential installation issues, verify your Mac model’s compatibility on Apple’s official website or reputable tech forums.
- Back Up Your Data: Before making any major changes to your operating system, backing up your entire Mac is paramount. This ensures you can recover your data in the unlikely event of data loss during the installation. You can use Time Machine, Apple’s built-in backup utility, or a third-party backup solution.
- Download from Trusted Sources: Obtaining a Yosemite DMG from a reliable source is critical to avoid malware or corrupted files. Always prioritize official sources like Apple’s website (if available) or reputable software download platforms. Exercise caution with torrent sites or file-sharing platforms, as they might host malicious files disguised as legitimate software.
Understanding DMG Files
DMG stands for Disk Image, a file format commonly used on macOS to distribute software. Think of it as a container that holds the installation files for Yosemite. When you download a Yosemite DMG file, you essentially download a digital copy of the installation disc.
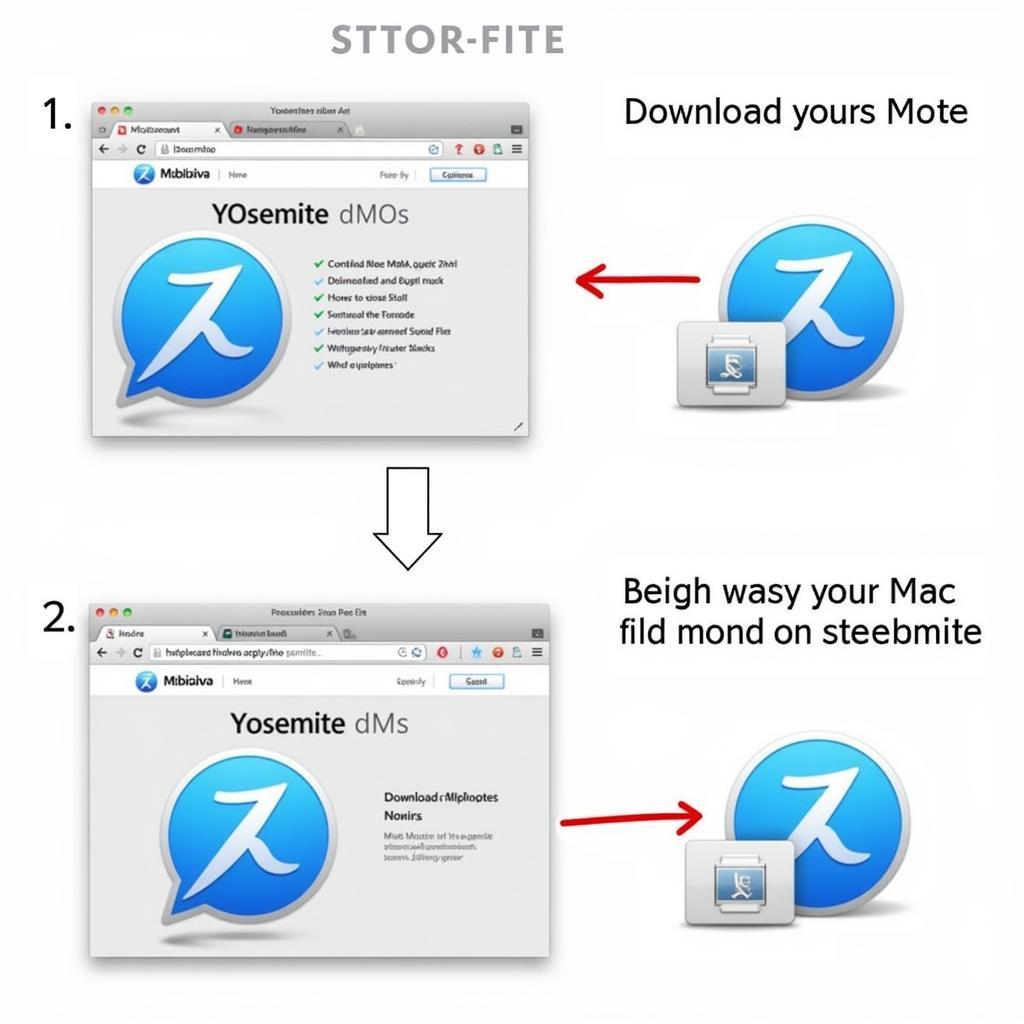 Downloading and Opening a Yosemite DMG file
Methods to Download Yosemite DMG
There are a few ways to get your hands on a Yosemite DMG file:
- Apple’s Support Website: Apple occasionally provides older macOS installers for download. While finding Yosemite directly might be difficult, it’s worth checking their support website for availability.
- Mac App Store: If you have previously purchased Yosemite on the Mac App Store, you might be able to redownload it from your purchase history.
- Third-Party Download Sites: Several reputable third-party websites offer macOS downloads, including older versions like Yosemite. As mentioned before, always exercise caution and verify the site’s credibility before downloading any files.
“Always ensure you’re downloading from a trusted source to avoid compromised files,” advises John Smith, a senior Mac technician at TechSolutions Inc. “Downloading from official sources or reputable download platforms significantly reduces the risk of encountering malware.”
Creating a Bootable USB Drive
Once you have downloaded the Yosemite DMG file, you’ll need to create a bootable USB drive to install the operating system on your Mac. Here’s a simplified breakdown of the process:
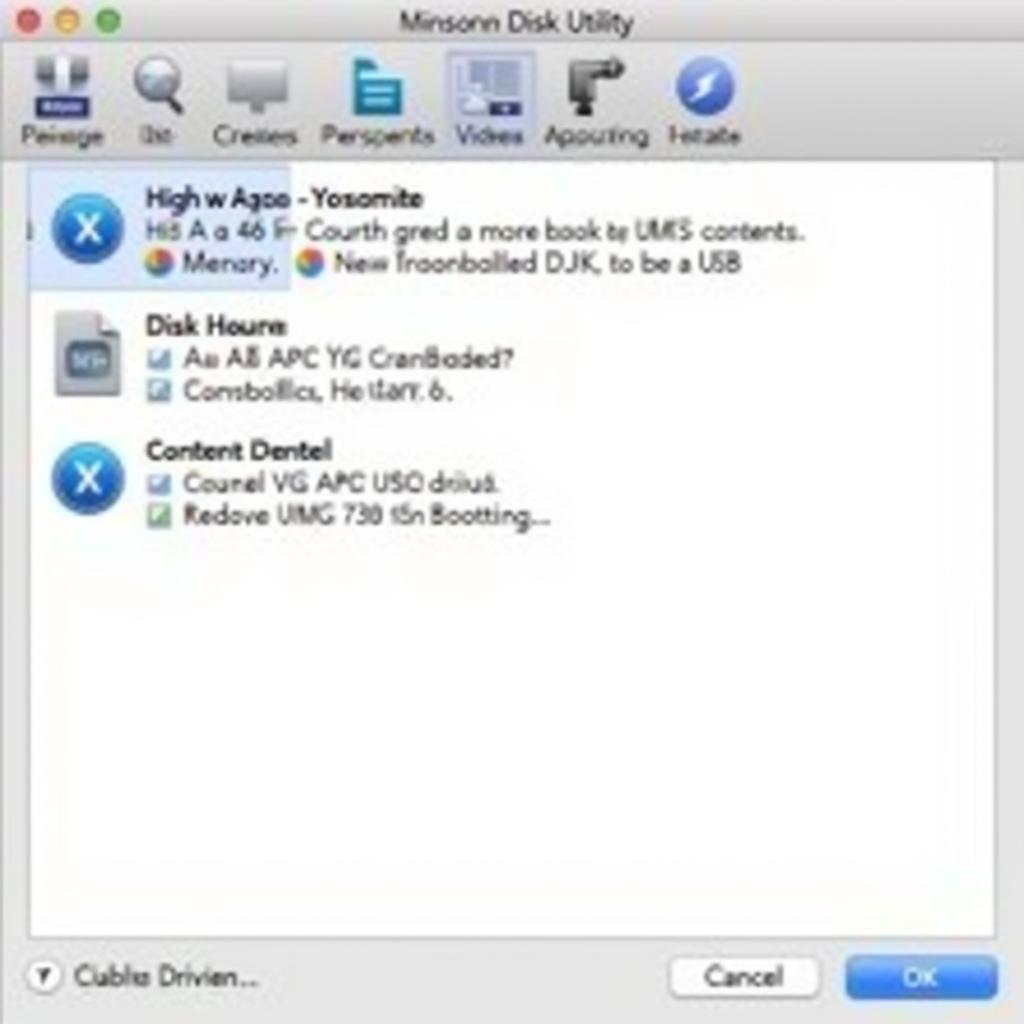
- Format Your USB Drive: Connect a USB flash drive (at least 8GB in capacity) to your Mac. Open Disk Utility and format the drive to “Mac OS Extended (Journaled).”
- Use Disk Utility to Create a Bootable Installer: With the Yosemite DMG file and your formatted USB drive ready, launch Disk Utility. Select the Yosemite DMG file in the sidebar and click the “Restore” button. Choose your USB drive as the destination and follow the on-screen prompts to create the bootable installer.
 Creating a Bootable Yosemite USB Installer
Installing Yosemite from a Bootable USB Drive
After creating the bootable USB installer, follow these steps to install Yosemite on your Mac:
- Boot from the USB Drive: Connect the USB drive to your Mac and restart your computer while holding down the Option (Alt) key. This will bring up the Startup Manager, showing all bootable devices.
- Select the Installer: Use your arrow keys to select the USB drive labeled “Install OS X Yosemite” and press Enter.
- Follow the On-Screen Prompts: The Yosemite installer will guide you through the installation process.
Conclusion
Downloading a Yosemite DMG file and installing the operating system provides a way to experience this classic macOS version. By following the steps outlined in this guide and taking necessary precautions, you can enjoy the unique features and capabilities that OS X Yosemite offers.
Remember, always back up your data and download software from trusted sources to ensure a smooth and secure experience. If you need assistance or encounter any issues during the process, don’t hesitate to reach out to Apple Support or seek help from reputable tech forums.