NinjaTrader is a powerful trading platform popular among futures, forex, and stock traders. While it’s natively supported on Windows, using NinjaTrader on a Mac requires a few extra steps. This guide will walk you through the process of downloading and running NinjaTrader on your macOS device, empowering you to trade effectively from your preferred platform.
Can You Get NinjaTrader on Mac?
While NinjaTrader doesn’t offer a dedicated macOS version, you can still access its features on your Mac. This is possible through virtualization software, which essentially creates a virtual Windows environment on your Mac. Let’s explore the methods to achieve this:
Methods to Download NinjaTrader on Mac
Here are the two most common approaches to run NinjaTrader on macOS:
1. Using a Virtual Machine
Virtual machines like Parallels Desktop or VMware Fusion are popular choices for running Windows applications on Mac. They create a separate virtual environment within your macOS, allowing you to install and run Windows and Windows-based programs like NinjaTrader.
Here’s how you can download NinjaTrader on Mac using a virtual machine:
-
Choose and Install a Virtual Machine: Select a reputable virtual machine software like Parallels Desktop or VMware Fusion and download it from their official websites. Follow the installation instructions provided.
-
Install Windows on the Virtual Machine: Once the virtual machine software is set up, you’ll need to install a compatible version of Windows within it. Purchase a Windows license and download the installation files. Your virtual machine software will guide you through the Windows installation process within its environment.
-
Download and Install NinjaTrader: After successfully installing Windows on your virtual machine, visit the official NinjaTrader website using the virtual machine’s web browser. Download the NinjaTrader installation file compatible with your Windows version. Run the installer and follow the on-screen instructions to install NinjaTrader within your virtual Windows environment.
-
Launch and Configure NinjaTrader: Once installed, you can launch NinjaTrader from within your virtual Windows environment. Log in to your NinjaTrader account or create a new one if you haven’t already. Configure your trading preferences, connect your brokerage account, and you’re ready to start trading.
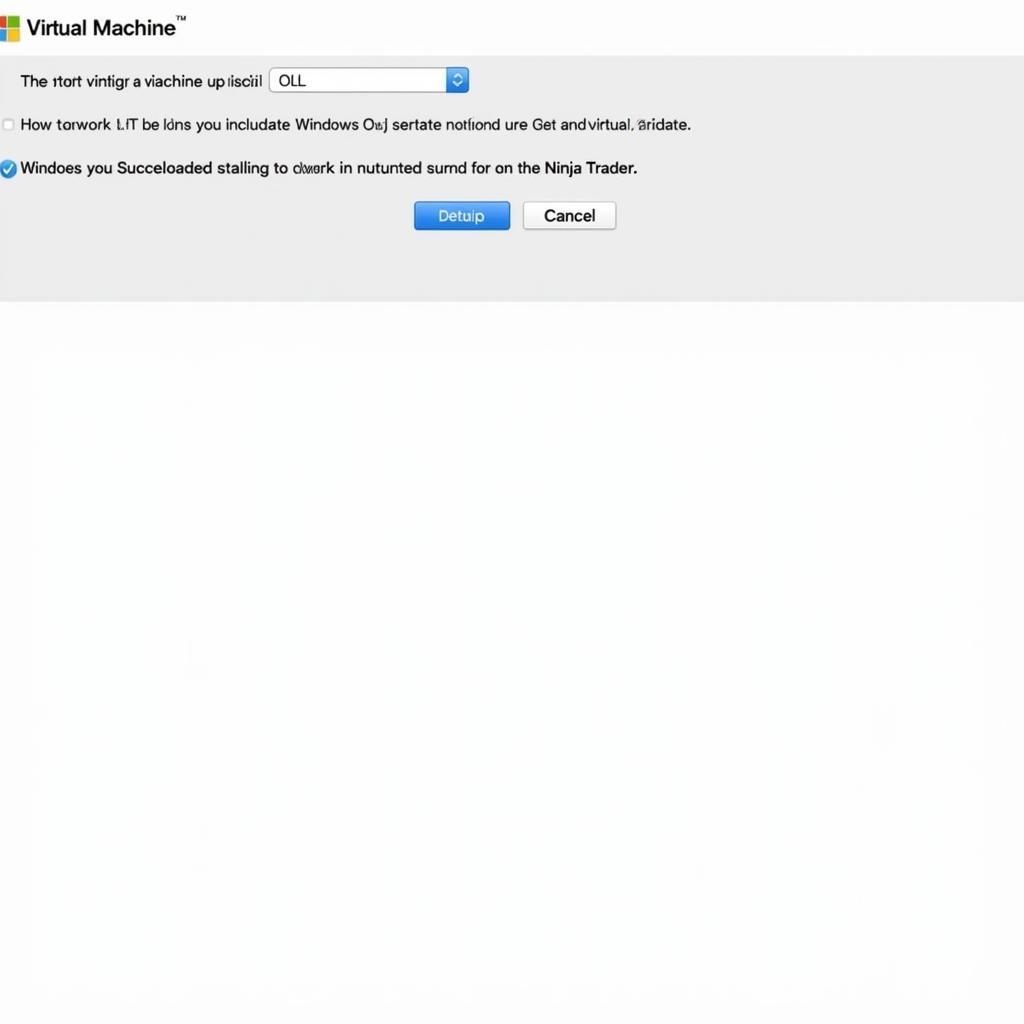 Setting up NinjaTrader on a Virtual Machine
2. Using a Cloud Computing Service
Cloud computing services offer another way to access and use NinjaTrader on Mac. Services like Amazon Web Services (AWS) and Microsoft Azure provide virtual Windows desktops that you can access remotely from your Mac.
Follow these steps to use NinjaTrader via cloud computing:
-
Choose a Cloud Computing Provider: Select a reputable cloud computing service like AWS or Azure that aligns with your budget and technical requirements.
-
Create a Virtual Windows Desktop Instance: Sign up for an account with your chosen provider and navigate to their cloud computing services. Choose the option to create a virtual desktop instance. Select Windows as the operating system for your virtual desktop. Configure the hardware specifications of your virtual desktop based on your usage needs. More RAM and processing power might be beneficial for smoother NinjaTrader operation, especially if you engage in resource-intensive trading activities.
-
Connect to Your Virtual Desktop: Once your virtual Windows desktop is running, you can connect to it remotely from your Mac using a remote desktop client. Most cloud computing providers offer their own client applications, or you can use a generic one.
-
Download and Install NinjaTrader: Access the internet on your virtual Windows desktop and download the NinjaTrader installer. Install NinjaTrader following the standard installation instructions, just like you would on a regular Windows PC.
-
Access and Use NinjaTrader: With NinjaTrader installed, you can access and use it through your virtual Windows desktop from your Mac.
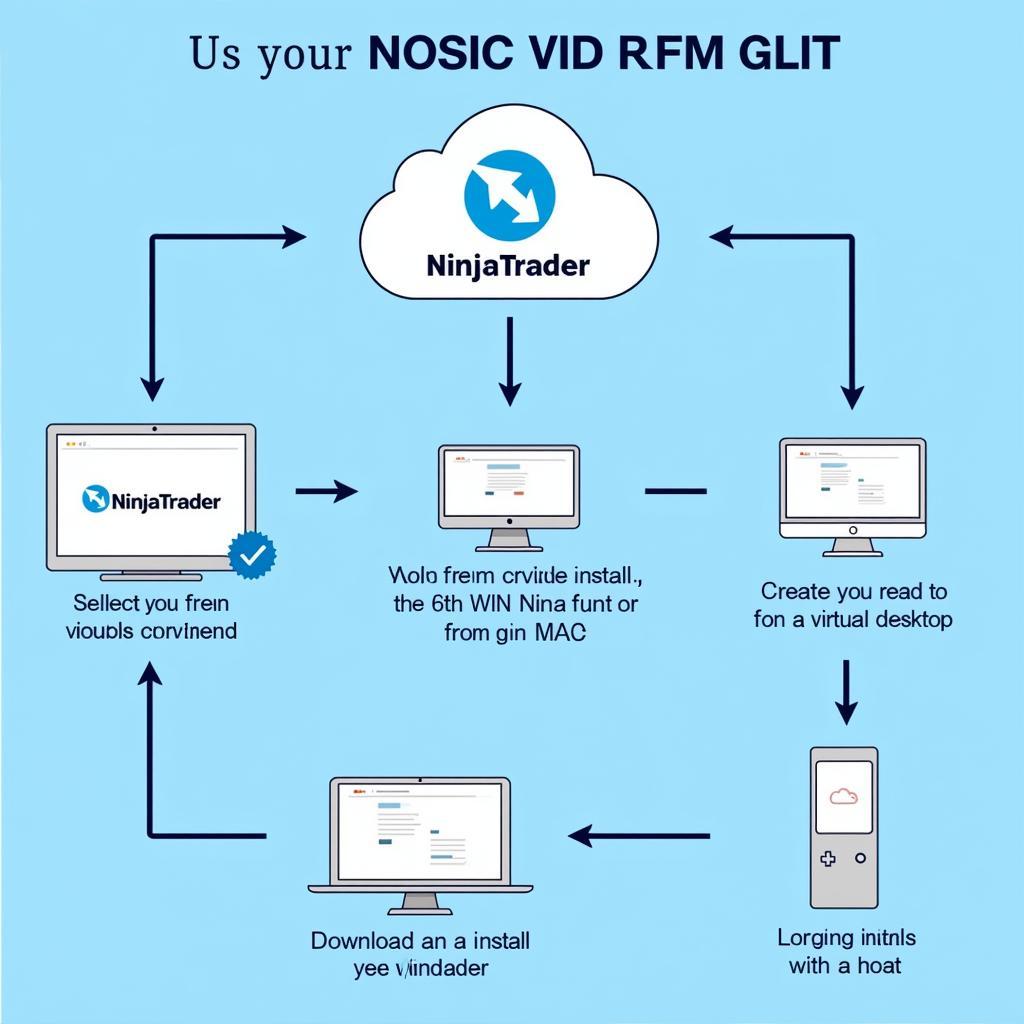 Accessing NinjaTrader via Cloud Computing
Tips for Using NinjaTrader on Mac
Whether you opt for a virtual machine or a cloud computing service, here are some tips to optimize your NinjaTrader experience on Mac:
- Ensure a Stable Internet Connection: A reliable and fast internet connection is essential for both virtualization and cloud computing. A stable connection ensures smooth performance and minimizes latency, which is crucial for real-time trading activities.
- Allocate Sufficient Resources: If you’re using a virtual machine, allocate sufficient RAM and processing power to the virtual environment. This will ensure NinjaTrader runs smoothly and you have a seamless trading experience.
- Keep Software Updated: Regularly update both your virtualization software (if used) and NinjaTrader to benefit from the latest features, performance improvements, and security patches.
- Explore NinjaTrader Resources: Familiarize yourself with NinjaTrader’s educational resources, such as their comprehensive user manual, video tutorials, and active community forums.
- Practice with a Demo Account: Before diving into live trading, utilize NinjaTrader’s demo account feature. This allows you to practice your trading strategies, explore the platform’s functionalities, and gain confidence in a risk-free environment.
Conclusion
While running NinjaTrader on a Mac requires an extra layer of setup compared to Windows, it’s a completely achievable process. By following the steps outlined in this guide, you can enjoy the powerful features of NinjaTrader and trade effectively from your Mac device. Whether you choose the virtualization or cloud computing route, ensure you prioritize a stable internet connection and allocate adequate resources for optimal performance. With the right setup and a little effort, you can seamlessly integrate NinjaTrader into your Mac-based trading workflow.
Leave a Reply