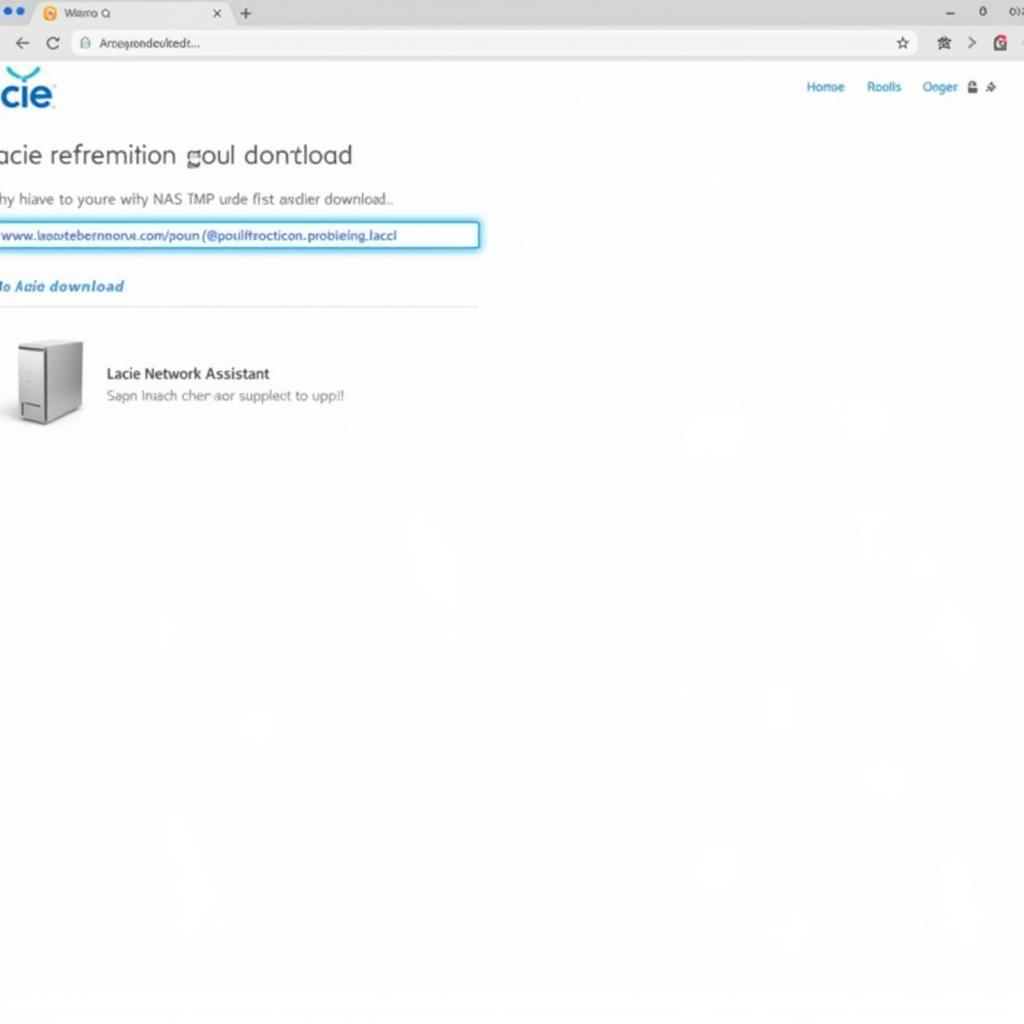
Lacie Network Assistant is a powerful tool designed to help you easily manage and configure your Lacie network-attached storage (NAS) device. Whether you’re a seasoned tech pro or just starting out with network storage, this software simplifies the process of accessing and controlling your Lacie NAS from any computer on your network. In this comprehensive guide, we’ll explore everything you need to know about Lacie Network Assistant Download, installation, and usage.
What is Lacie Network Assistant?
Lacie Network Assistant is a free utility software offered by Lacie, a renowned data storage solutions provider. It acts as a central hub for managing your Lacie network-attached storage (NAS) device. With an intuitive interface, this software empowers you to perform a range of tasks, including:
- Discovering your Lacie NAS device on the network. This is particularly helpful if you haven’t manually assigned a static IP address to your NAS.
- Mapping network drives to access shared folders on your Lacie NAS directly from your computer’s file explorer.
- Managing users and groups to control access permissions for different users on your network.
- Configuring network settings, such as IP address, subnet mask, and gateway, for your Lacie NAS.
- Accessing the Lacie NAS web administration interface for more advanced configuration options.
Why Use Lacie Network Assistant?
While you can manage your Lacie NAS through its web interface by directly typing the NAS IP address into a web browser, Lacie Network Assistant offers several advantages:
- Simplified Device Discovery: Easily locate your Lacie NAS on the network, even if you don’t remember its IP address.
- User-Friendly Interface: Perform common management tasks with ease thanks to the intuitive interface, making it ideal for users of all experience levels.
- Streamlined Network Drive Mapping: Quickly map shared folders on your Lacie NAS as drives on your computer, providing seamless access to your files.
- Centralized Management: Configure network settings, manage users, and access the web administration interface—all from one convenient location.
How to Download Lacie Network Assistant
Downloading Lacie Network Assistant is a straightforward process:
- Visit the Official Lacie Support Website: Go to the Lacie website (www.lacie.com) and navigate to the “Support” section.
- Search for your Lacie NAS Model: Enter the model number of your Lacie NAS device in the search bar to access the product support page.
- Locate the Downloads Section: On your NAS model’s support page, look for a “Downloads” or “Software” tab.
- Download Lacie Network Assistant: Find the appropriate version of Lacie Network Assistant compatible with your operating system (Windows or macOS) and click the download link.
 Lacie Support Website – Download Section
Installing Lacie Network Assistant
Once you’ve downloaded the installation file, follow these simple steps:
- Run the Installer: Double-click the downloaded file to launch the installation wizard.
- Follow the On-Screen Instructions: The installer will guide you through the setup process. Accept the license agreement, choose the installation directory (if prompted), and click “Install.”
- Complete the Installation: Wait for the installation to finish, and then click “Finish” or “Close” to exit the wizard.
Using Lacie Network Assistant
After installation, you can launch Lacie Network Assistant to start managing your NAS:
- Launch the Application: Find the Lacie Network Assistant icon on your desktop or in the applications menu and open it.
- Discover Your Lacie NAS: The software will automatically scan your network for any Lacie NAS devices. Once detected, your NAS will be listed in the main window.
- Map Network Drives (Optional): Select your Lacie NAS from the list. Choose the shared folders you want to access and assign drive letters to them. This will create shortcuts in your file explorer for easy access.
- Access the Web Administration Interface: Double-click your Lacie NAS in the list to open the web-based administration interface in your default web browser. Here, you can perform advanced configurations, such as setting up RAID, managing users, and configuring backup options.
Troubleshooting Tips
If you encounter any issues with Lacie Network Assistant, try these troubleshooting steps:
- Ensure Network Connectivity: Make sure your computer and Lacie NAS are connected to the same network.
- Check Firewall Settings: Temporarily disable your firewall to see if it’s blocking the software’s communication.
- Verify IP Address: Ensure your Lacie NAS has a valid IP address on the network.
- Restart Devices: Restart your computer and Lacie NAS to resolve temporary network issues.
- Reinstall Lacie Network Assistant: If the problem persists, uninstall and reinstall the software.
Conclusion
Lacie Network Assistant simplifies the management of your Lacie NAS device, offering an intuitive way to access, configure, and maintain your network storage. By following the steps outlined in this guide, you can easily download, install, and start using this powerful tool to streamline your network storage experience.